

Initial Server Setup - Ubuntu 22.04
Last Updated: December 4, 2022
This post will walk through some important steps of setting up a new server on Ubuntu 22.04. We'll be using Digital Ocean to create the server.
Create a Digital Ocean Droplet
Firstly, navigate to the Digital Ocean dashboard and create a new Droplet.
Step through the configuration options available.
Ensure you choose Ubuntu 22.04 (LTS) for your image.
Choose the size of your server. Servers start from as low as $4 on Digital Ocean, and you get complete control over the server. I prefer Digital Ocean over managed hosting for the additional control, and over cloud providers like AWS for the lesser complexity.
Choose your authentication method, SSH is recommended.
I'd also recommend adding the monitoring as an extra. The backups and managed database I would steer away from personally as I prefer to do that stuff myself.
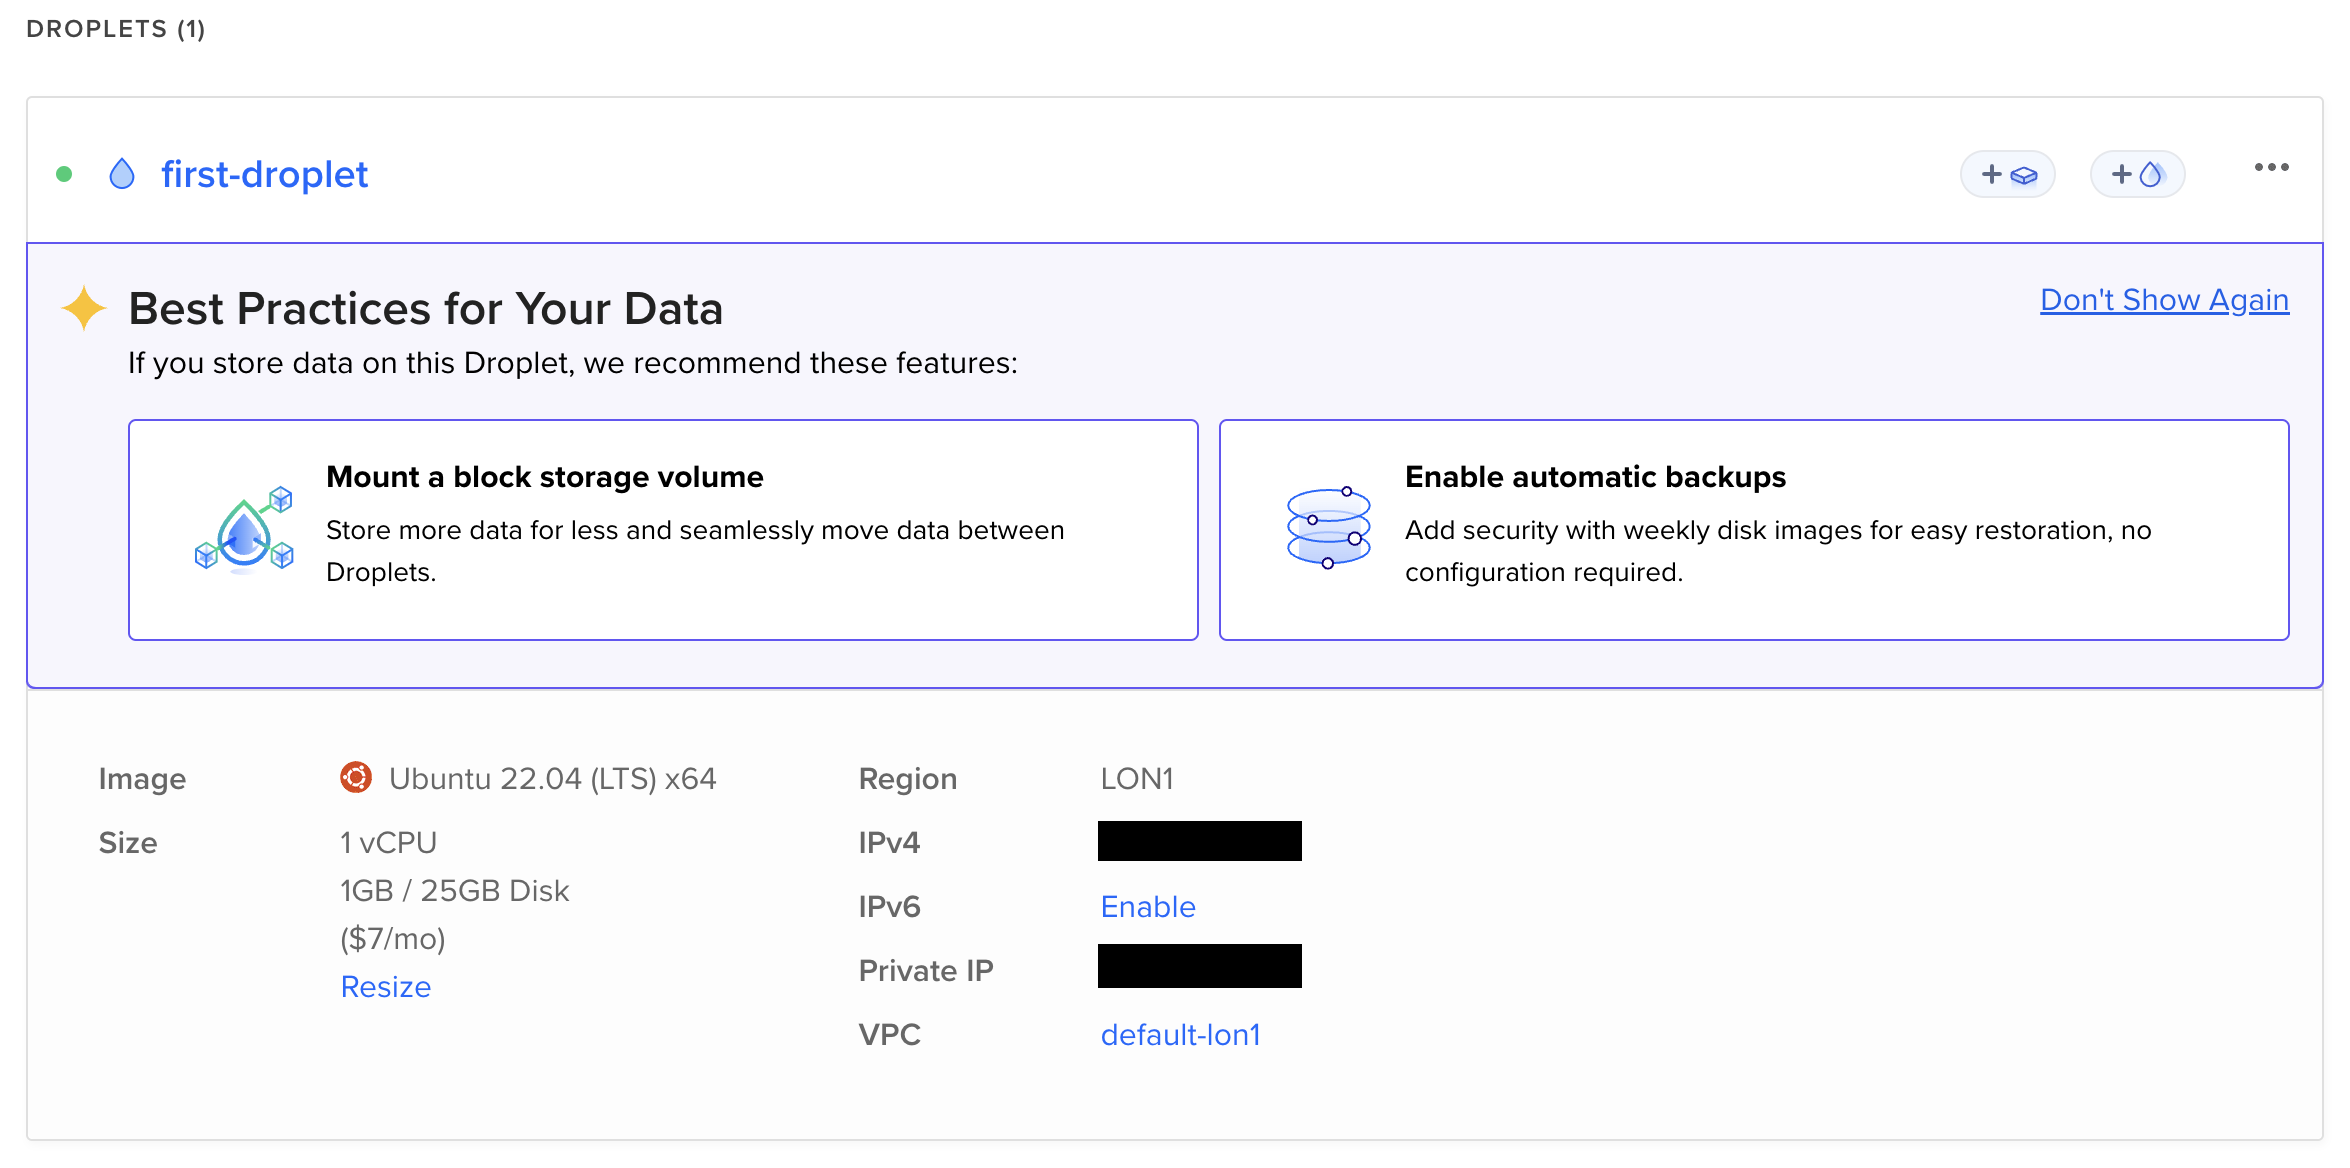
Your Droplet should be ready in your dashboard within a minute or so.
Basic Server Setup
Grab your IPv4 address and SSH into your server as root:
ssh root@{your_server_ip}
It's important to not use root for day-to-day operations. Instead, you should create a new user:
adduser bradsi
Next, grant admin privileges to the new user. This means you can perform admin tasks that would be executed by root by prefixing sudo with a command.
usermod -aG sudo bradsi
You'll also want to configure the UFW firewall. This allows you to restrict access to certain services.
# Allow SSH Connections
ufw allow OpenSSH

# Enable the Firewall
ufw enable

# See the Status of the Firewall
ufw status
Lastly, you'll want to enable access for your new user. Assuming you logged in as root via SSH authentication, run the following command to copy the SSH key from root to your new user:
rsync --archive --chown=bradsi:bradsi ~/.ssh /home/bradsi
You should now be able to SSH into your server as your new user:
ssh bradsi@{your_server_ip}